Compressing A Video
Before turning in a video for a project or homework assignment, it needs to be compressed so that the file size is not too large. There are several ways to do this, and you’re welcome to use whatever way works best for you. This page describes how to compress video using the free program HandBrake.
The computer you’re using might already have HandBrake installed. If it does, make sure it’s an up-to-date version of the program:

If HandBrake is not installed, go ahead and try to install it on your own computer.
When you launch HandBrake, it will display an “Open File” dialog for you to choose your uncompressed video file:

Find your uncompressed video file and click the Open button at the bottom-right. HandBrake will now look like something like this:
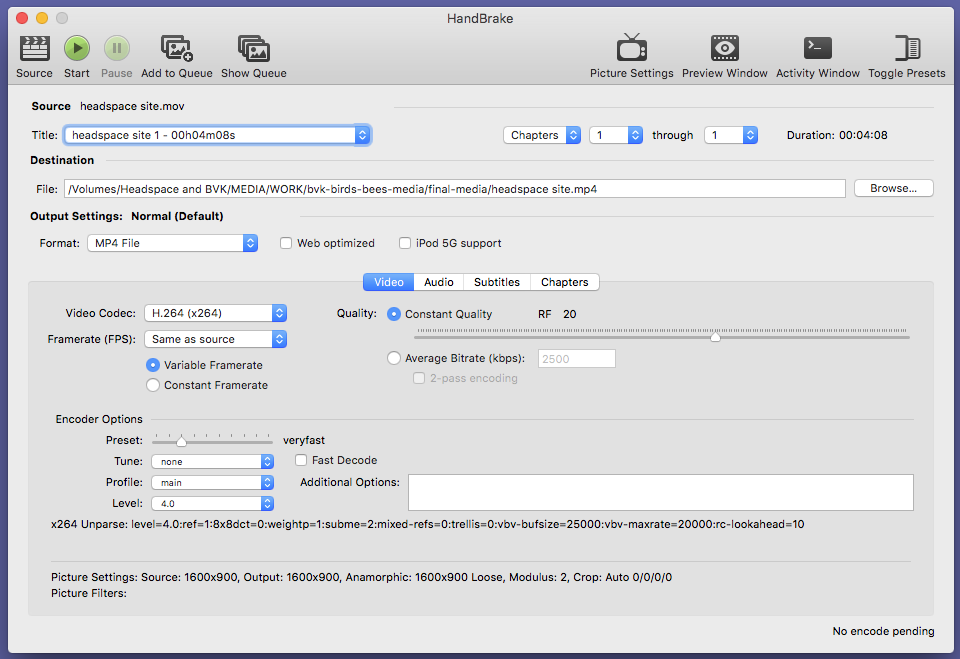
The filename of the uncompressed video you chose should now be displayed at the top-left of the window next to the black text “Source“. (If you need to re-open the “File Open” dialog, click the “Source” button at the far-left of the toolbar, or use the “File > Open Source…” menu item.)
Use the “Toggle Presets” button in the toolbar to make sure that the Presets Drawer is open:
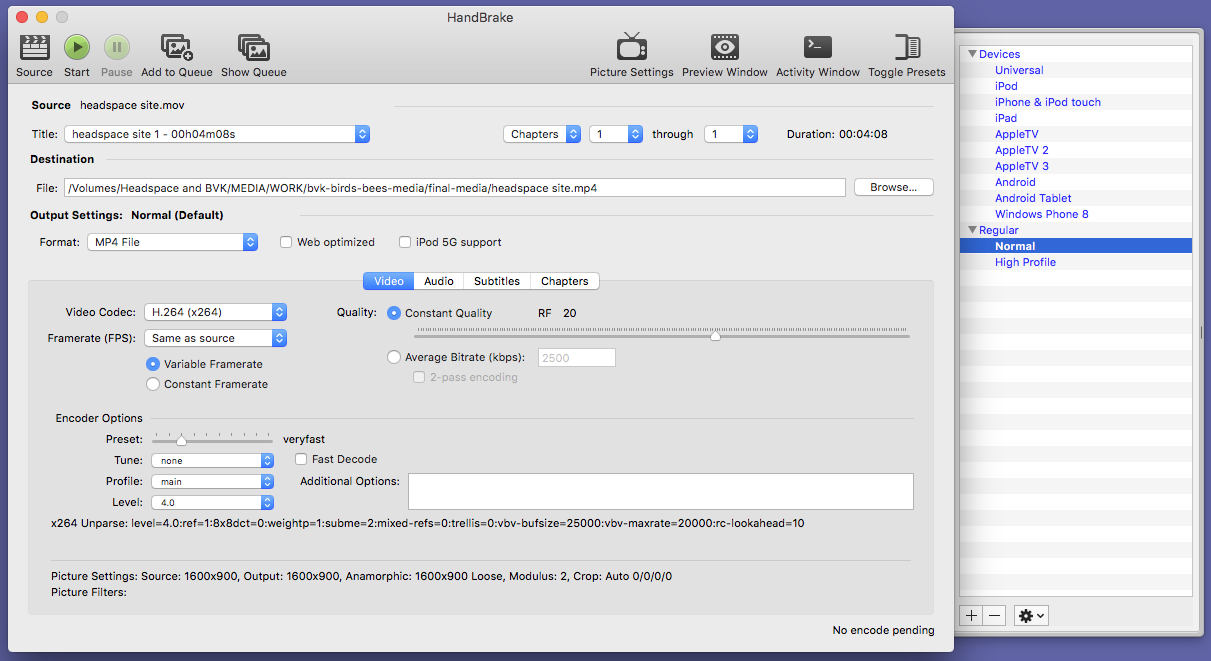
In the Presets Drawer you can click on a settings preset to update all options in the main window. Select the “High Profile” preset.
Now you need to tell HandBrake where to save your compressed file using this area of the main window:

Click the “Browse…” button at the right to select an output folder and filename for the new file.
Now you’re ready to do this. Click the “Start” button at the left of the toolbar:

After HandBrake is done working, open up the compressed file and play it. Make sure it doesn’t look too artifacted compared to the original master. If it looks pretty bad, try sliding the “Constant Quality” slider to the right so that the value “RF 20” decreases, and run the compression again.
Good Luck!
Full HandBrake Documentation: https://handbrake.fr/docs/en/latest/